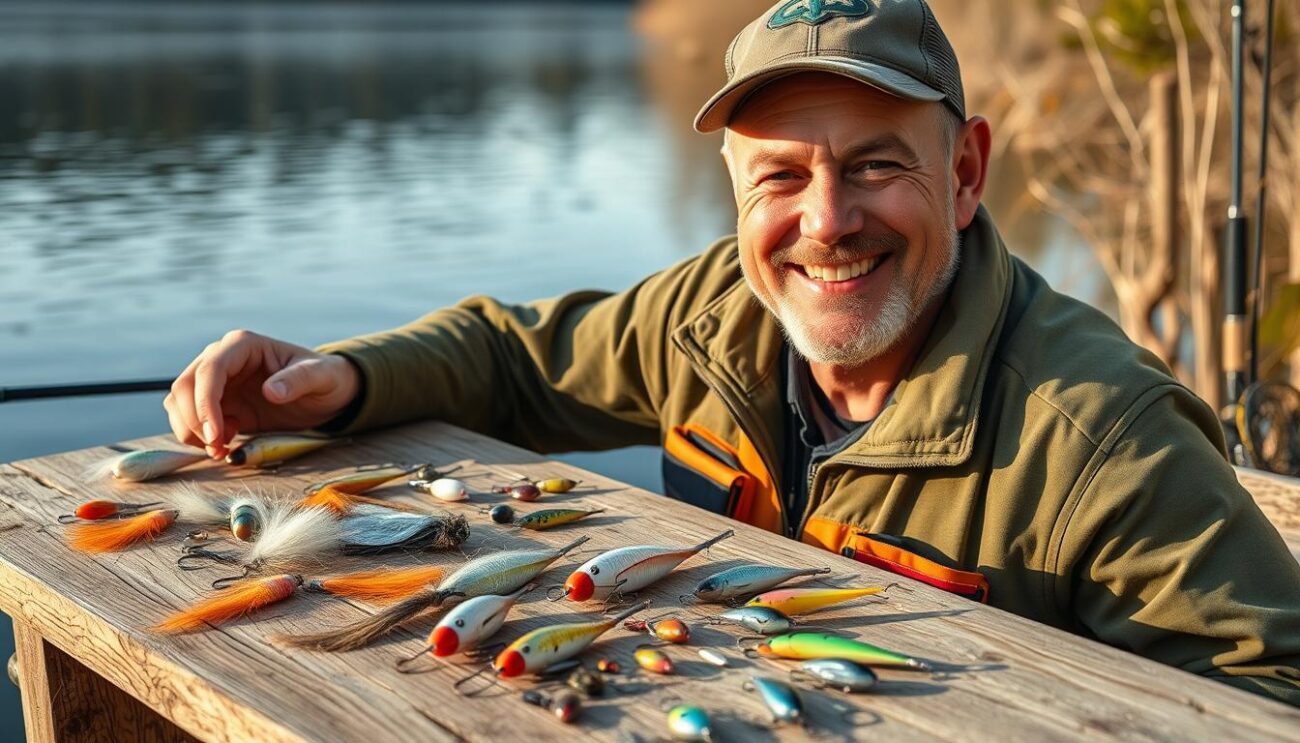
In this guide, we’ll walk through 10 creative DIY fishing projects using common household items. These homemade accessories perform impressively compared to store-bought alternatives, often at a fraction of the cost. Let’s dive in and discover how to enhance your fishing experience with some hands-on crafting!
Benefits of Making Your Own Fishing Accessories
Cost Savings
Store-bought fishing accessories can quickly empty your wallet. By creating DIY alternatives using materials you already have at home, you can save significant money while still enjoying quality gear. Many of these projects cost less than a dollar to make!
Customization
Commercial fishing gear comes in limited designs and colors. When you make your own accessories, you can customize every aspect—from the weight of a sinker to the exact shade of a lure—to match specific fishing conditions and target species.
Sustainability
DIY fishing projects often repurpose items that might otherwise end up in landfills. By upcycling household materials into functional fishing gear, you’re reducing waste while creating something useful for your outdoor adventures.
10 DIY Fishing Accessories You Can Make at Home
1. Bottle Cap Fishing Lures
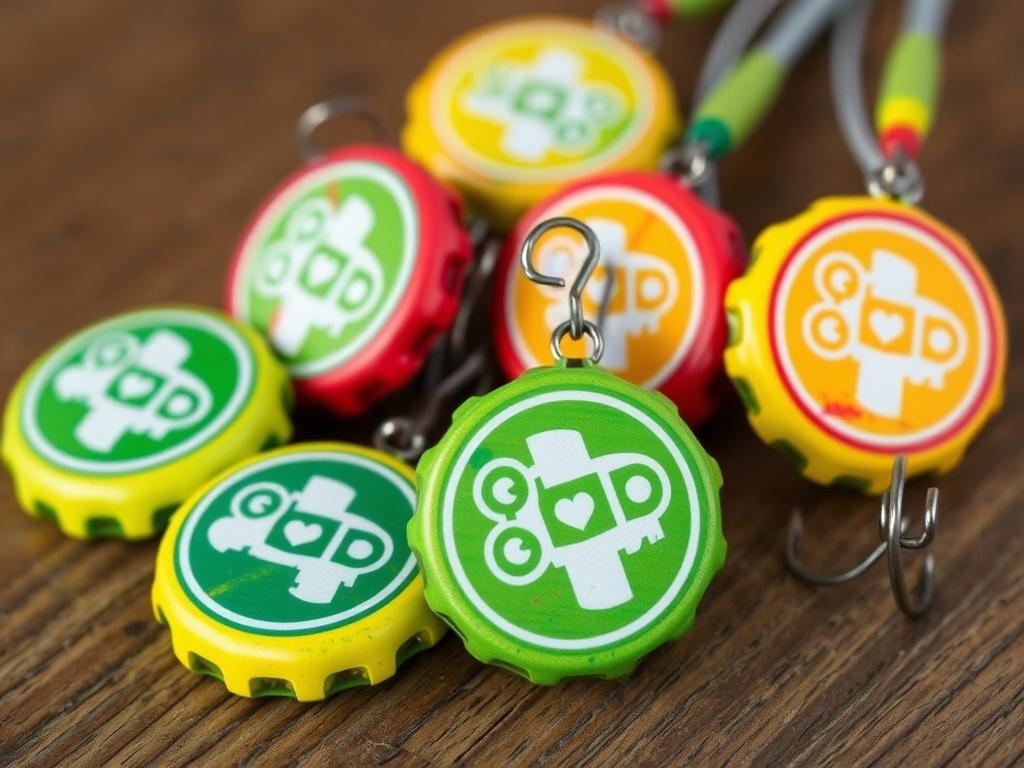
Bottle cap lures are among the easiest and most effective DIY fishing accessories you can make at home. Their flashing, spinning action in water mimics injured baitfish, making them irresistible to predatory species like bass and pike.
Materials Needed:
- Metal bottle caps (soda or beer caps work great)
- Treble hooks (size 6-10)
- Split rings or small key rings
- Drill with 1/8″ bit
- Pliers
- Colorful nail polish or model paint
- Clear coat sealant (optional)
Step-by-Step Instructions:
- Flatten the bottle cap completely using pliers
- Drill a small hole in the center of the cap
- Drill another hole near the edge of the cap
- Paint the inside of the cap with bright colors (red, yellow, and white work well)
- Add details like eyes or stripes for extra appeal
- Apply clear coat to protect the paint (optional)
- Attach a split ring through the center hole
- Connect your fishing line to this ring
- Attach another split ring and treble hook to the edge hole
Safety Tip: Always wear safety glasses when drilling metal bottle caps, as small metal fragments can fly off during the process.
Ready to try making your own bottle cap lures? Gather your materials and create a few different color patterns to see which works best in your local fishing spots!
2. PVC Rod Holders
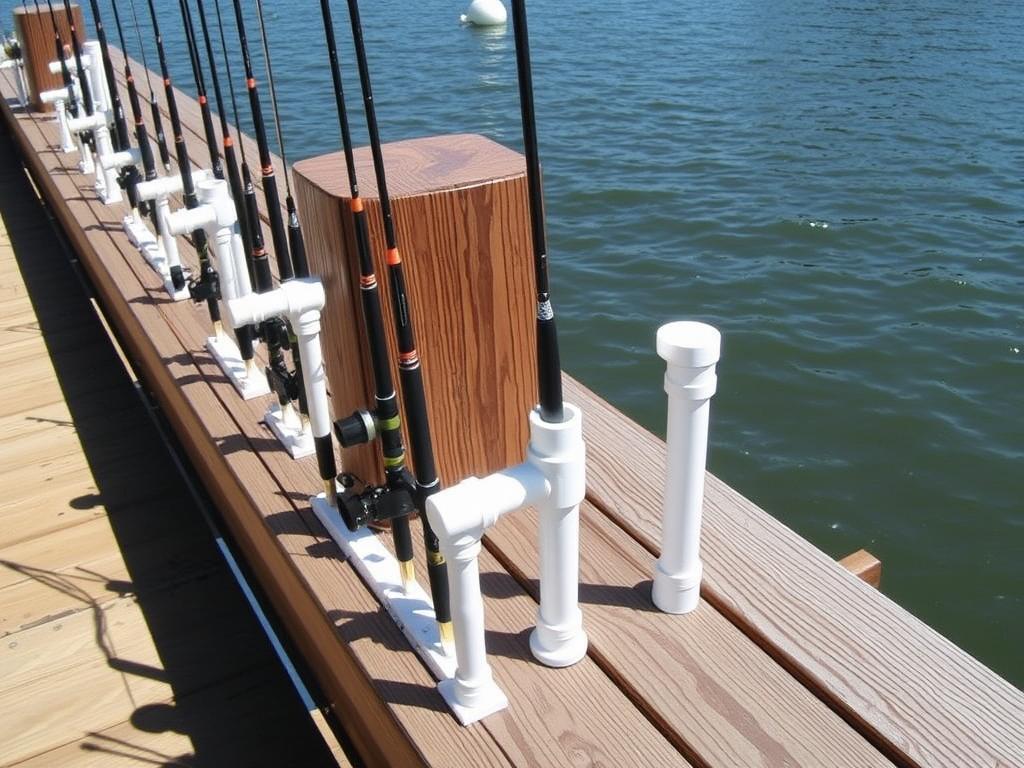
A good rod holder keeps your fishing rod secure while you wait for a bite. Commercial versions can cost $20-30 each, but you can make your own for just a few dollars using PVC pipe from your local hardware store.
Materials Needed:
- 2″ diameter PVC pipe (12-18″ length per holder)
- PVC elbow joint (45° angle works best)
- PVC cement
- Saw (hand saw or pipe cutter)
- Sandpaper
- Mounting hardware (screws, clamps, or zip ties)
- Spray paint (optional)
Step-by-Step Instructions:
- Cut the PVC pipe into two pieces: one 8-10″ piece for the vertical section and one 4-6″ piece for the angled section
- Sand the cut edges smooth
- Connect the two pieces using the 45° elbow joint and PVC cement
- Let the cement dry completely (usually 24 hours)
- Spray paint the holder if desired for UV protection and aesthetics
- Mount the holder to your dock, boat, or other surface using appropriate hardware
Pro Tip: Create multiple rod holders and space them evenly along your dock or boat for a professional-looking setup. You can even color-code them for different fishing rod types.
3. Cork and Twig Bobbers
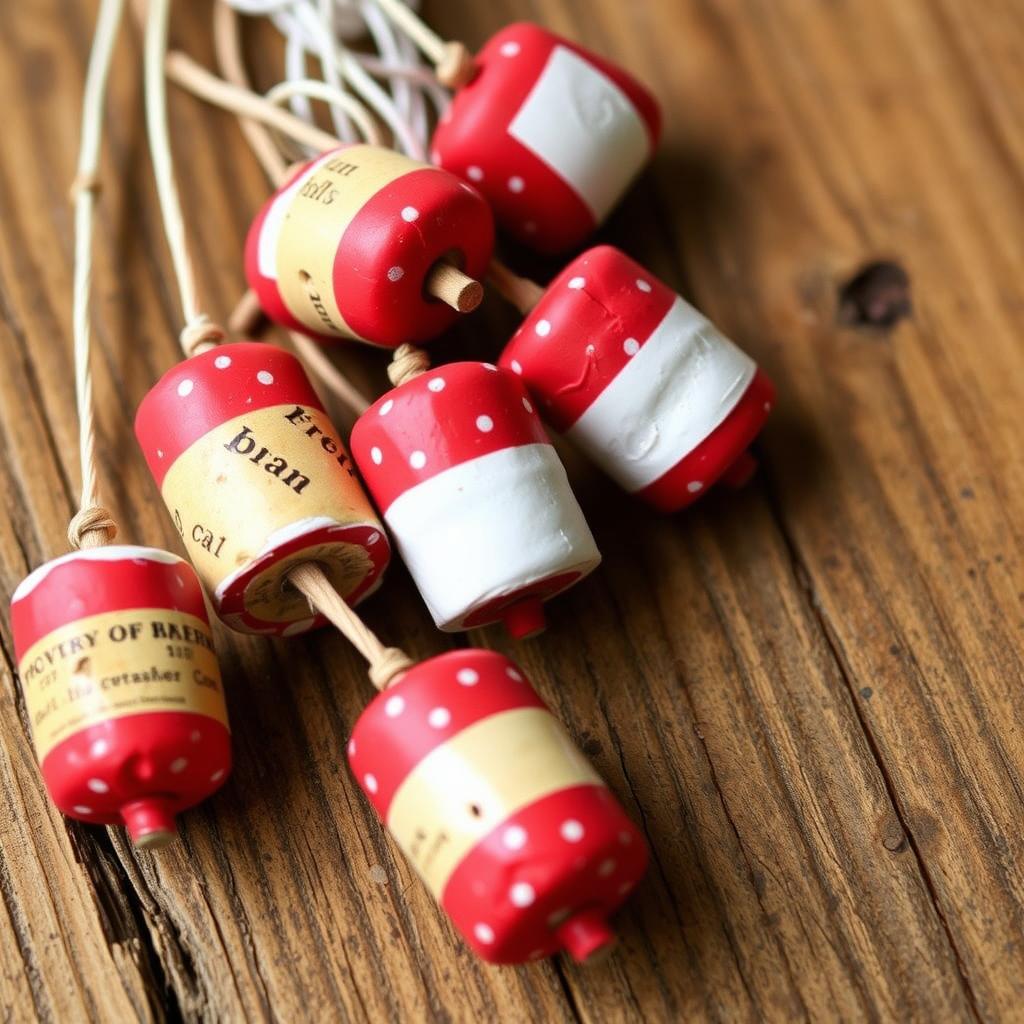
Bobbers (also called floats) are essential for detecting bites when fishing with live bait. Making your own from wine corks or small twigs gives you the flexibility to create custom sizes for different fishing situations.
Materials Needed:
- Wine corks or straight twigs (3-4″ long)
- Small eye screws
- Drill with small bit
- Sandpaper
- Red and white paint
- Small paintbrush
- Clear waterproof sealant
Step-by-Step Instructions:
- For cork bobbers: Drill a small pilot hole in each end of the cork
- For twig bobbers: Select a straight twig and sand it smooth, then drill small holes in each end
- Screw the eye screws into each end of your cork or twig
- Paint the middle section red and the ends white for high visibility
- Apply 2-3 coats of clear waterproof sealant to protect from water damage
- Allow to dry completely before using
4. Spoon Lures from Silverware
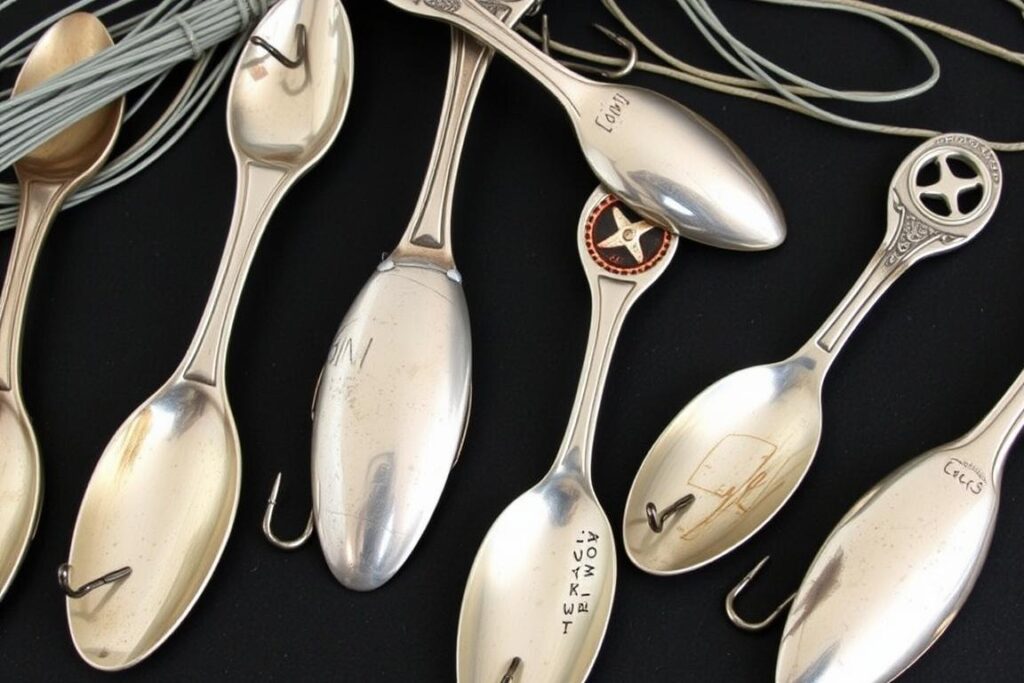
Old silverware spoons make excellent fishing lures due to their flash and wobble in the water. This is a perfect way to repurpose thrift store finds or mismatched silverware into effective fishing gear.
Materials Needed:
- Old stainless steel spoons (teaspoons or tablespoons)
- Hacksaw or metal cutting tool
- Drill with small bit
- Metal file
- Sandpaper (various grits)
- Split rings
- Treble hooks
- Pliers
- Colorful nail polish or model paint (optional)
Step-by-Step Instructions:
- Cut off the handle of the spoon, leaving about 1/2 inch beyond the bowl
- File down any sharp edges until smooth
- Drill a small hole at the top of the spoon (where it connects to the handle)
- Drill another hole at the bottom of the spoon bowl
- Sand and polish the spoon to create a shiny finish
- Add colored patterns with nail polish if desired
- Attach a split ring to the top hole for your fishing line
- Attach another split ring and treble hook to the bottom hole
Warning: Be extremely careful when cutting and drilling metal. Always wear protective gloves and eye protection, and secure the spoon firmly before cutting.
5. Paracord Fishing Net
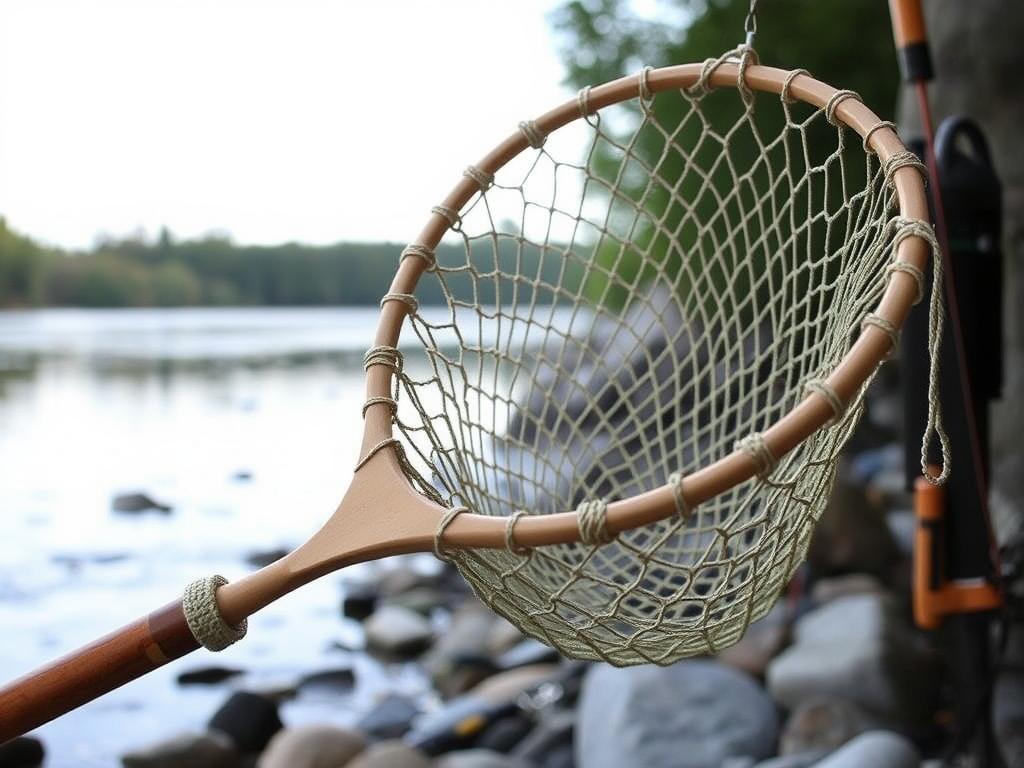
A good landing net is essential for safely catching and releasing fish. Commercial nets can be expensive, but you can make a durable and functional net using paracord and a repurposed tennis racket or wooden frame.
Materials Needed:
- Old tennis racket or wooden dowels for frame
- 100-150 feet of paracord
- Wood for handle (if making frame from scratch)
- Drill with small bit
- Sandpaper
- Waterproof wood finish
- Lighter or heat source
- Scissors
Step-by-Step Instructions:
- If using a tennis racket: Remove the existing strings and sand the frame
- If making a frame: Bend wooden dowels into an oval shape and secure
- Drill small holes around the frame perimeter, spaced 1-2 inches apart
- Apply waterproof finish to all wooden parts and let dry
- Thread paracord through the holes to create the outer edge of the net
- Tie the net using a mesh knot pattern (square knots work well)
- Space knots about 1 inch apart for a tight net
- Seal the ends of the paracord with a lighter to prevent fraying
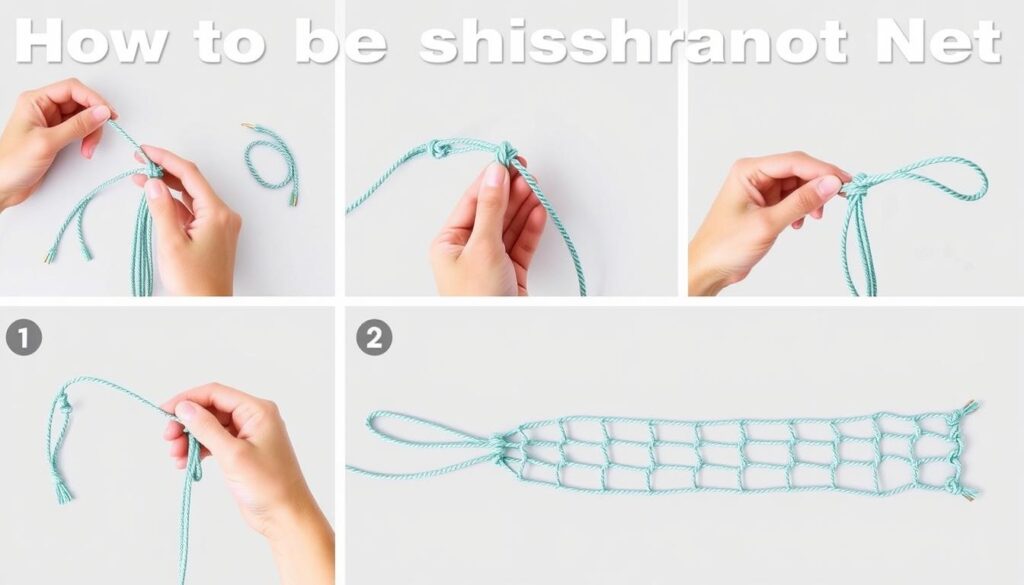
Creating your own fishing net is a rewarding project that can save you $30-50 compared to store-bought options. Plus, you’ll have the satisfaction of landing fish with gear you made yourself!
6. Plastic Bottle Fish Trap
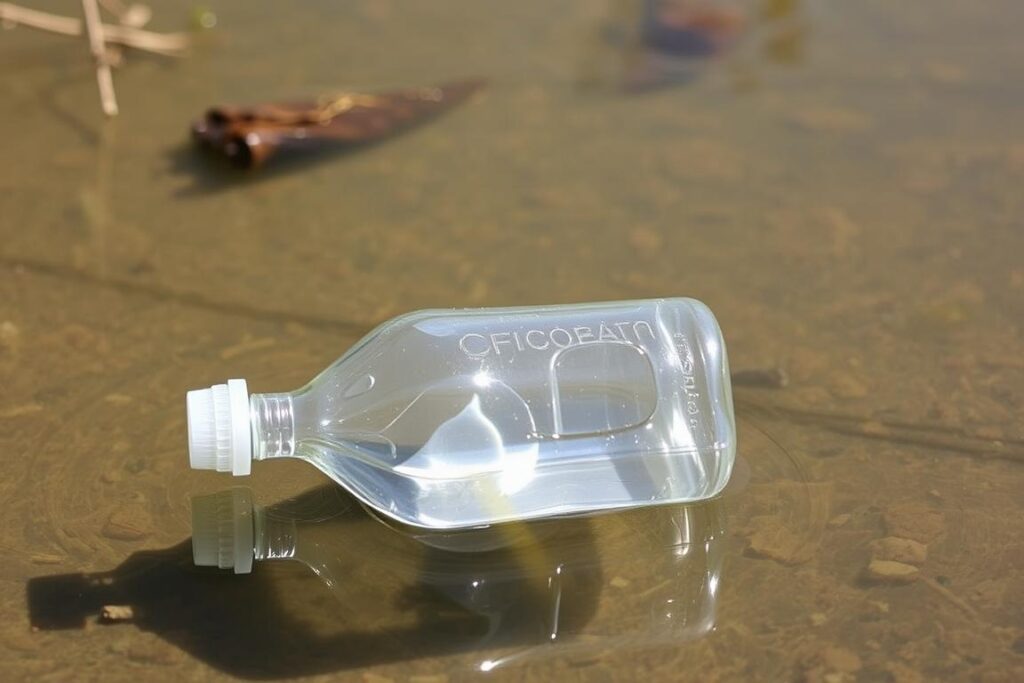
A simple fish trap made from plastic bottles can be an effective way to catch small baitfish or minnows for your fishing trips. This eco-friendly project repurposes plastic bottles that might otherwise end up in landfills.
Materials Needed:
- Two clear 2-liter plastic bottles
- Scissors or utility knife
- Small rocks or weights
- String or fishing line
- Duct tape
- Drill or hole punch
- Bait (bread, dog food, etc.)
Step-by-Step Instructions:
- Cut the top third off one of the bottles
- Cut the bottom off the second bottle
- Invert the top of the first bottle (creating a funnel) and place it inside the bottom section
- Secure the two pieces together with duct tape
- Drill small holes in the trap for water flow
- Add small rocks to weigh down the trap
- Tie string to the trap for retrieval
- Place bait inside and set in shallow water
Legal Note: Always check local fishing regulations before using any type of trap. In some areas, traps may be restricted or require special permits.
7. Wooden Lure Carving
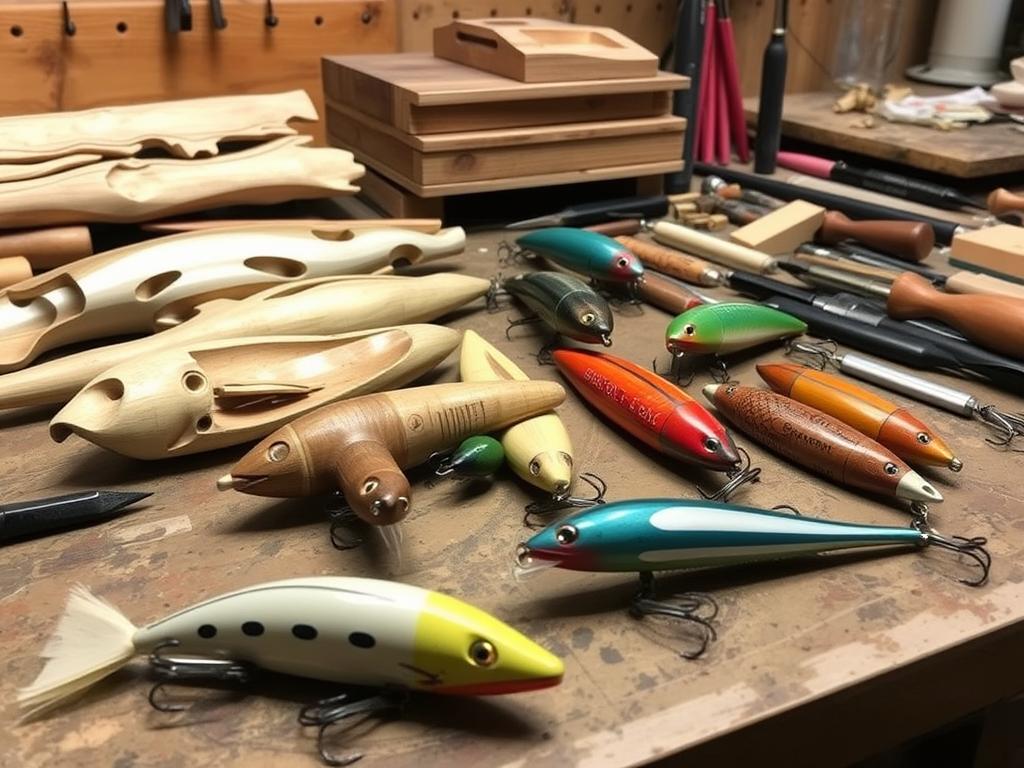
Wooden lures have been catching fish for centuries, and making your own allows for endless customization. While this project requires more skill than others, the results can be stunning and highly effective on the water.
Materials Needed:
- Softwood blocks (cedar, pine, or balsa)
- Carving knife or small whittling tools
- Sandpaper (various grits)
- Small screw eyes
- Treble hooks
- Split rings
- Acrylic paints
- Clear waterproof sealant
- Small lead weights (optional)
- Drill with small bits
Step-by-Step Instructions:
- Draw the outline of your lure design on the wood block
- Roughly cut or carve the basic shape
- Refine the shape with detailed carving
- Sand the lure until smooth
- Drill holes for screw eyes and weights (if using)
- Insert weights if desired for proper action
- Twist in screw eyes at both ends
- Apply base coat of paint and let dry
- Add details like eyes, gills, and scale patterns
- Apply 3-4 coats of clear sealant, sanding lightly between coats
- Attach split rings and hooks
Advantages of Wooden Lures
- Natural buoyancy and action in water
- Unlimited customization options
- Can be made to mimic local baitfish exactly
- Extremely cost-effective compared to premium lures
- Deeply satisfying to catch fish on something you carved
Challenges
- Requires more skill and patience than other projects
- Getting the right action can take practice
- Proper sealing is crucial to prevent water damage
- More time-intensive than other DIY accessories
8. Recycled Tackle Box
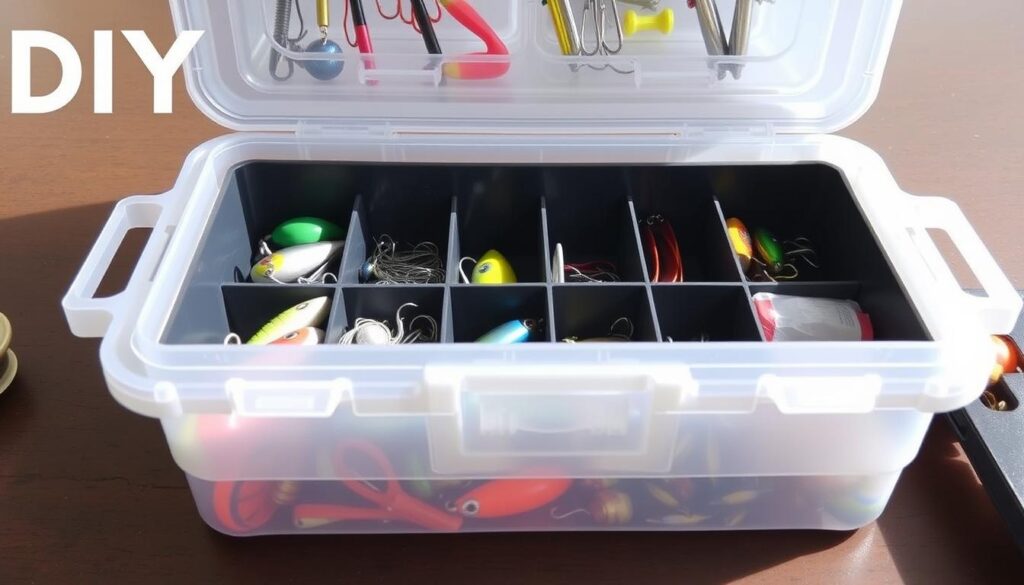
Commercial tackle boxes can be expensive, but you can create functional alternatives using items you already have at home. This project helps organize your fishing gear while giving new life to containers that might otherwise be discarded.
Materials Needed:
- Plastic food containers with lids
- Small plastic boxes (pill organizers work well)
- Old toolbox or plastic storage bin
- Hot glue gun and glue sticks
- Foam sheet material
- Utility knife or scissors
- Permanent marker
- Velcro strips (optional)
Step-by-Step Instructions:
- Clean all containers thoroughly
- Decide on the layout of your tackle organization system
- Cut foam sheets to fit inside containers for hook storage
- Use hot glue to secure smaller containers inside larger ones
- Create dividers from plastic or foam if needed
- Label each section with a permanent marker
- Use Velcro to secure containers that need to be removable
- Test the box to ensure everything stays in place when moved
Organization Tip: Group similar items together (hooks in one section, weights in another, etc.) and consider color-coding for even faster access when fishing.
9. Homemade Fishing Line Spooler
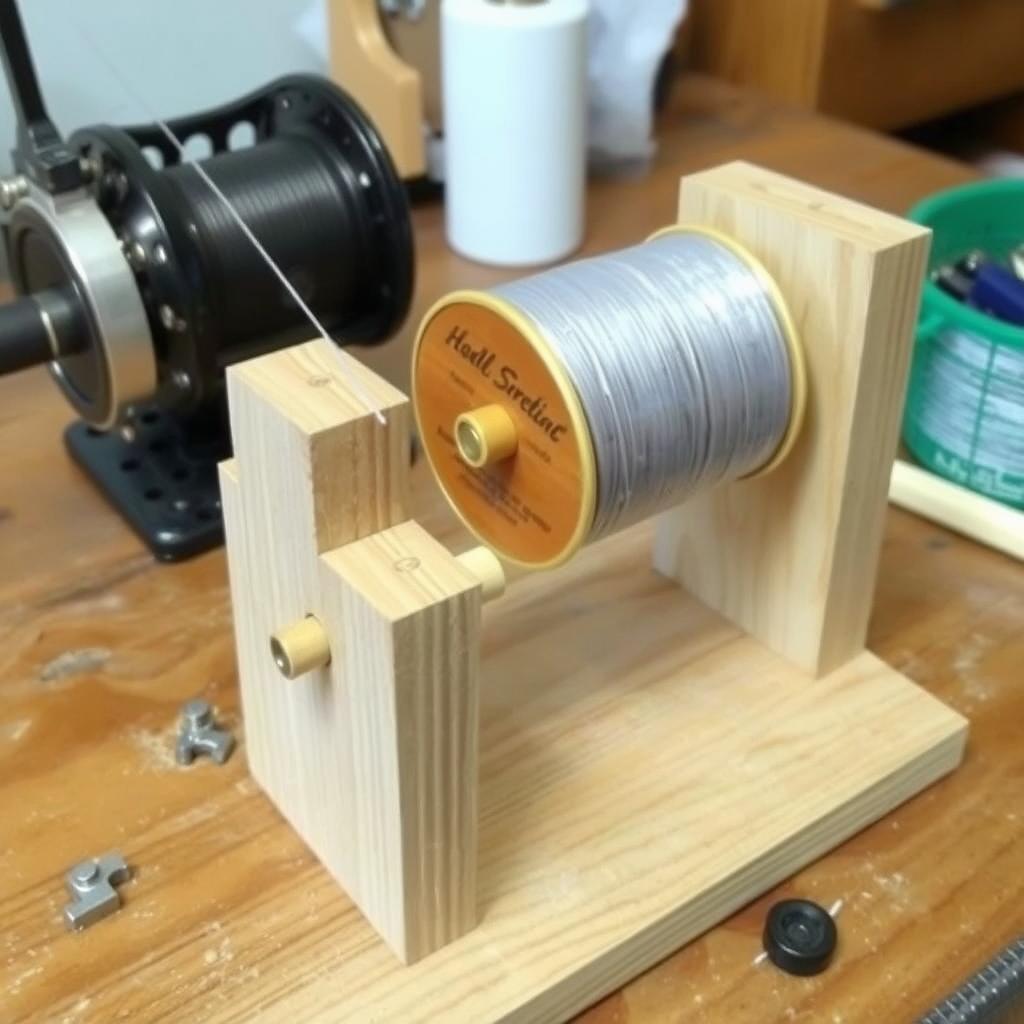
Properly spooling fishing line onto your reel is crucial for preventing tangles and ensuring smooth casting. This simple DIY line spooler makes the process much easier and costs a fraction of commercial versions.
Materials Needed:
- Two wooden blocks (approximately 6″x4″x2″)
- Wooden dowel (3/8″ diameter, 12″ long)
- Pencil or pen
- Drill with various bits
- Sandpaper
- Wood glue
- Tension cloth (old t-shirt material works well)
- Two small screws
- Clamp (optional)
Step-by-Step Instructions:
- Drill a hole in the center of one wooden block sized to fit the dowel
- Drill a similar hole in the second block
- Sand all wooden parts smooth
- Insert the dowel into one block and secure with wood glue
- Create a tension device by folding cloth material and securing it to the second block with screws
- Allow glue to dry completely
- To use: Place the spool of new line on the dowel, run the line through the tension cloth, and attach to your reel
| Feature | DIY Spooler | Commercial Spooler |
| Cost | $5-10 | $25-50 |
| Customization | High | Low |
| Durability | Good | Excellent |
| Portability | Moderate | High |
10. Braided Yarn Fishing Worms
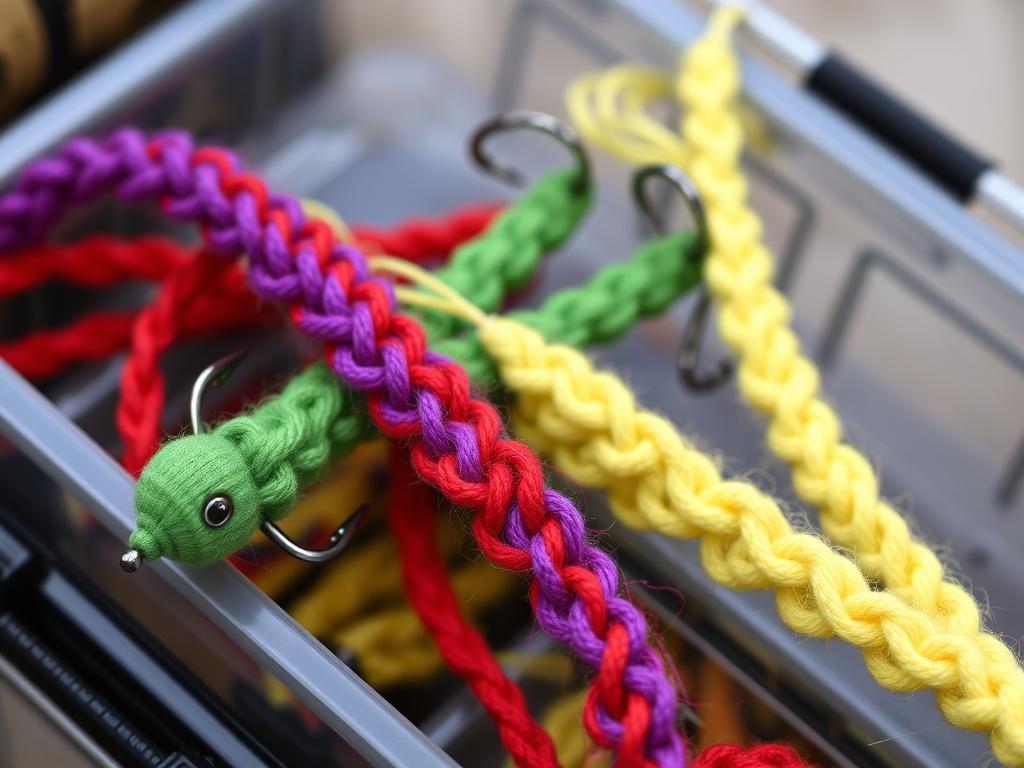
Soft plastic worms are staples in many tackle boxes, especially for bass fishing. Making your own from yarn allows you to create custom colors and sizes that might outperform store-bought options in your local waters.
Materials Needed:
- Acrylic yarn in various colors
- Scissors
- Fishing hooks (worm hooks work best)
- Small weights (optional)
- Clear nail polish (optional)
- Ruler
Step-by-Step Instructions:
- Cut 6-8 strands of yarn, each about 12-18 inches long
- Group the strands together and tie a knot at one end
- Divide the strands into three equal groups
- Braid the strands together loosely
- Tie off the other end when you reach your desired worm length
- Trim the ends to create a tapered shape
- Apply clear nail polish to the knots for durability (optional)
- To use, thread a worm hook through the braided yarn body
“I’ve caught more bass on my homemade yarn worms than on expensive store-bought plastics. The natural movement in the water seems to trigger more strikes, especially in heavily fished waters where bass have seen every commercial lure.”
These braided yarn worms are incredibly effective and cost just pennies to make compared to $5-8 for a pack of commercial plastic worms. Try making a batch in different color combinations to see what works best in your fishing spots!
DIY vs. Store-Bought: How Do They Compare?
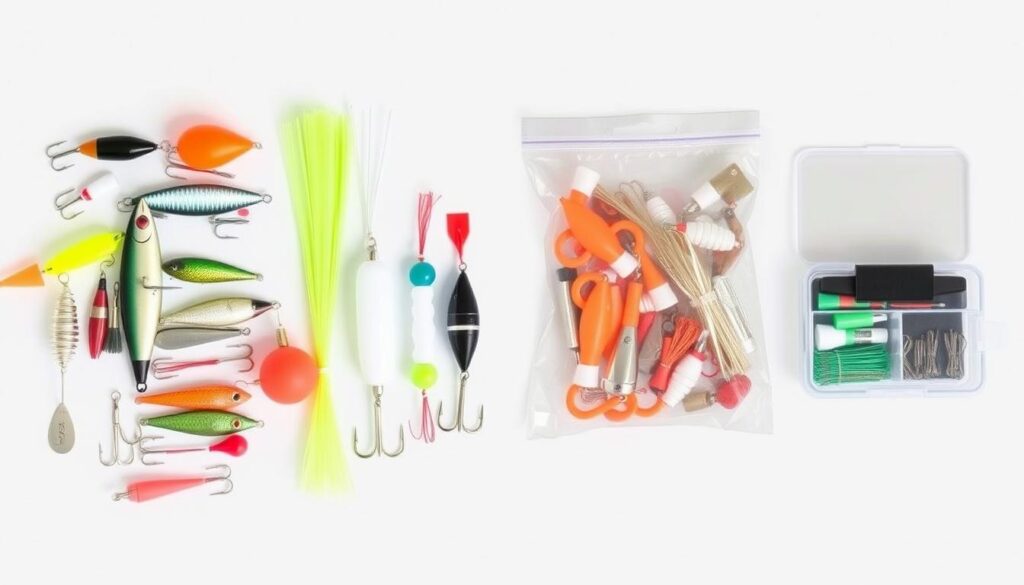
DIY Fishing Accessories
- Significantly lower cost (often 80-90% savings)
- Fully customizable to your specific needs
- Can be adjusted and modified as you learn what works
- Creates a deeper connection to the fishing experience
- Environmentally friendly through upcycling
- Can be made with readily available materials
Store-Bought Accessories
- Professional finish and appearance
- Consistent quality and performance
- Time-saving (no construction required)
- Often more durable in the long term
- Available immediately when needed
- Backed by manufacturer testing and guarantees
While store-bought fishing accessories offer convenience and professional quality, DIY alternatives provide significant cost savings and the ability to customize gear to your exact specifications. Many anglers find that their homemade accessories actually outperform commercial products in their local fishing conditions because they can be tailored to specific waters and target species.
Frequently Asked Questions
Are DIY fishing accessories really effective compared to store-bought ones?
Yes, many DIY fishing accessories are just as effective as—and sometimes more effective than—their commercial counterparts. The key advantage is customization: you can tailor your homemade gear to the specific fish species and water conditions you encounter. Many experienced anglers regularly use a mix of both commercial and DIY gear, choosing the best tool for each situation.
How durable are homemade fishing accessories?
Durability depends on the materials used and construction quality. With proper sealing and finishing (especially for wooden items), DIY fishing accessories can last for many seasons. Some items, like metal spoon lures, can actually be more durable than commercial plastic alternatives. The key is using quality materials and taking time with the finishing steps.
Do I need special tools to make these DIY fishing accessories?
Most of these projects require only basic household tools like scissors, pliers, a drill, and a utility knife. More advanced projects like wooden lure carving might benefit from specialized whittling tools, but even these can be completed with a sharp pocket knife and sandpaper. The projects in this guide were specifically chosen to be accessible without requiring expensive specialized equipment.
How much money can I save by making my own fishing accessories?
The cost savings are substantial. For example, a handmade spoon lure might cost
Frequently Asked Questions
Are DIY fishing accessories really effective compared to store-bought ones?
Yes, many DIY fishing accessories are just as effective as—and sometimes more effective than—their commercial counterparts. The key advantage is customization: you can tailor your homemade gear to the specific fish species and water conditions you encounter. Many experienced anglers regularly use a mix of both commercial and DIY gear, choosing the best tool for each situation.
How durable are homemade fishing accessories?
Durability depends on the materials used and construction quality. With proper sealing and finishing (especially for wooden items), DIY fishing accessories can last for many seasons. Some items, like metal spoon lures, can actually be more durable than commercial plastic alternatives. The key is using quality materials and taking time with the finishing steps.
Do I need special tools to make these DIY fishing accessories?
Most of these projects require only basic household tools like scissors, pliers, a drill, and a utility knife. More advanced projects like wooden lure carving might benefit from specialized whittling tools, but even these can be completed with a sharp pocket knife and sandpaper. The projects in this guide were specifically chosen to be accessible without requiring expensive specialized equipment.
How much money can I save by making my own fishing accessories?
The cost savings are substantial. For example, a handmade spoon lure might cost $0.50-1.00 in materials compared to $5-8 for a commercial version. A DIY rod holder might cost $3-4 versus $20-30 for a store-bought one. Overall, anglers who make their own accessories can save 70-90% compared to purchasing equivalent commercial products.
.50-1.00 in materials compared to -8 for a commercial version. A DIY rod holder might cost -4 versus -30 for a store-bought one. Overall, anglers who make their own accessories can save 70-90% compared to purchasing equivalent commercial products.
Ready to Create Your Own DIY Fishing Accessories?
Making your own fishing accessories at home isn’t just about saving money—it’s about connecting more deeply with the sport and creating gear that perfectly matches your fishing style. Each of these DIY projects offers a chance to experiment, customize, and ultimately catch more fish with equipment you crafted yourself.
Whether you’re a beginner looking to expand your tackle collection on a budget or an experienced angler wanting to try something new, these homemade fishing accessories provide excellent alternatives to store-bought gear. The satisfaction of catching a fish on something you made yourself adds an extra dimension to the already rewarding experience of fishing.
Share Your DIY Fishing Creations!
We’d love to see what you create! Share photos of your DIY fishing accessories on social media with the hashtag #DIYFishingGear or in the comments below. Your creative solutions might inspire other anglers to try making their own gear!
Remember, the best fishing accessories are the ones that work for your specific needs and fishing conditions. Don’t be afraid to modify these designs or combine elements from different projects to create something uniquely yours. Happy crafting and tight lines!

